
FBM Step 1: Create FBM Listings
In Step 1: Create FBM Listings, we'll add the products we're ready to sell on Amazon.
To begin, click Inventory from the side menu, then select List FBM.

Use the search bar to pull up the products you want to list. You can search by product name, SKU, FNSKU, ASIN, UPC, ISBN, EAN, or GTIN
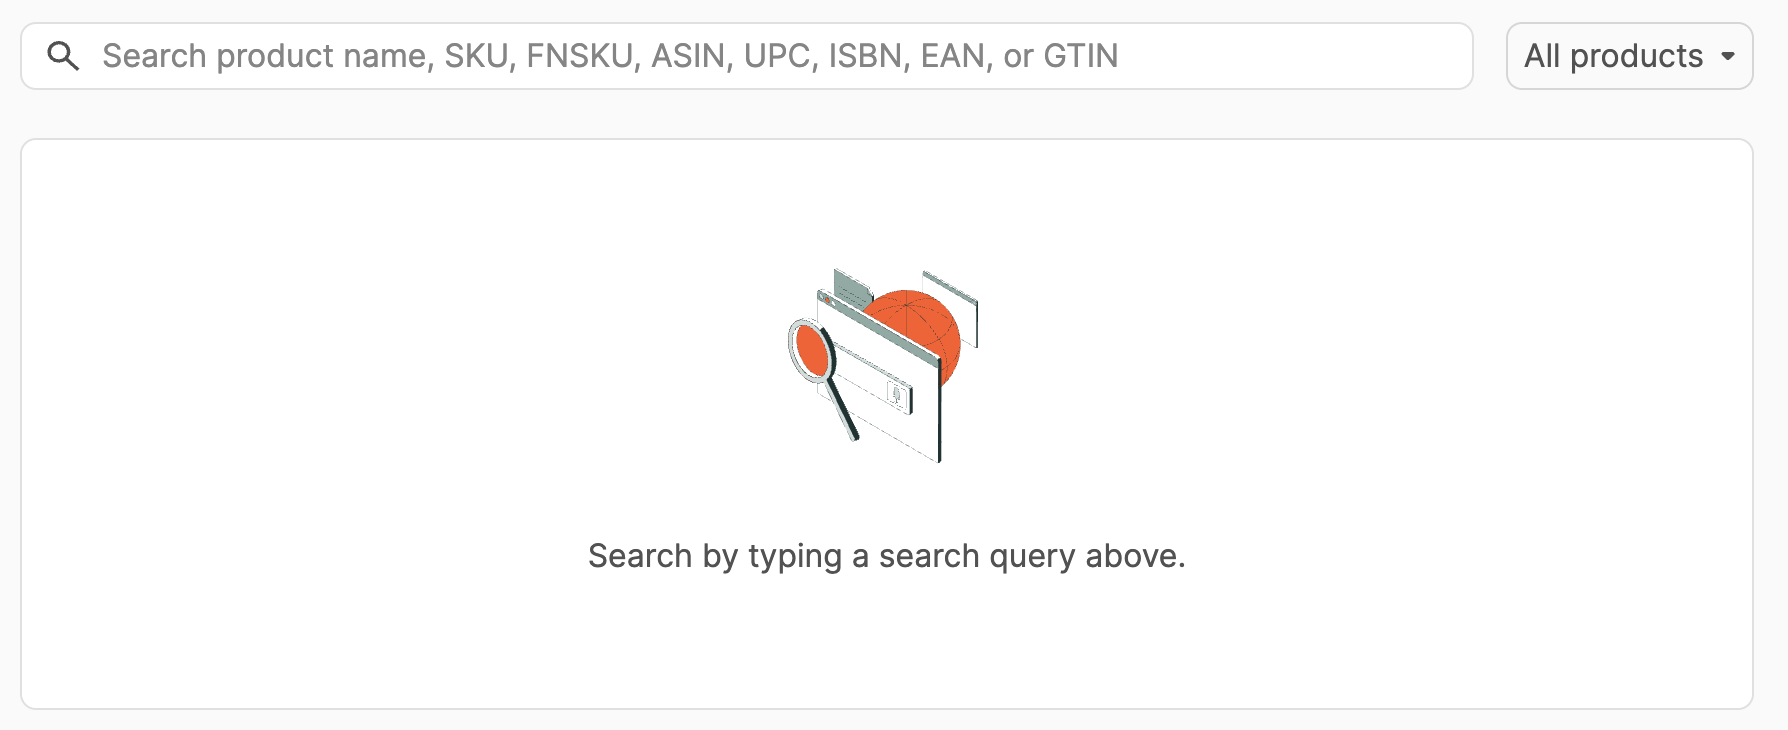
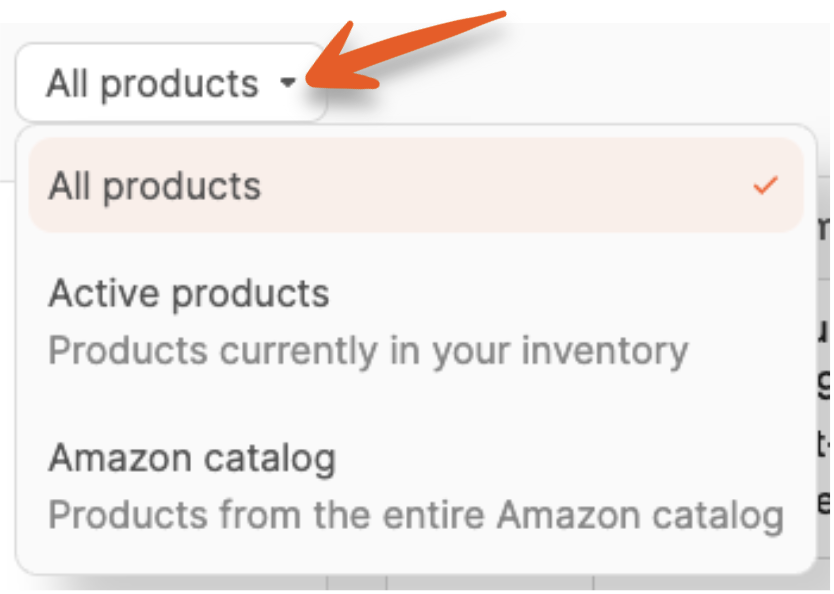
Next to the search bar, you can select your search parameters to include All products or narrow them down to search only Active products in your inventory or products in the Amazon catalog.
A list of results will appear when you begin typing in the search bar. The first ten results will be displayed. Scroll to the bottom of the list to see the total number of results and navigate to view different results pages.
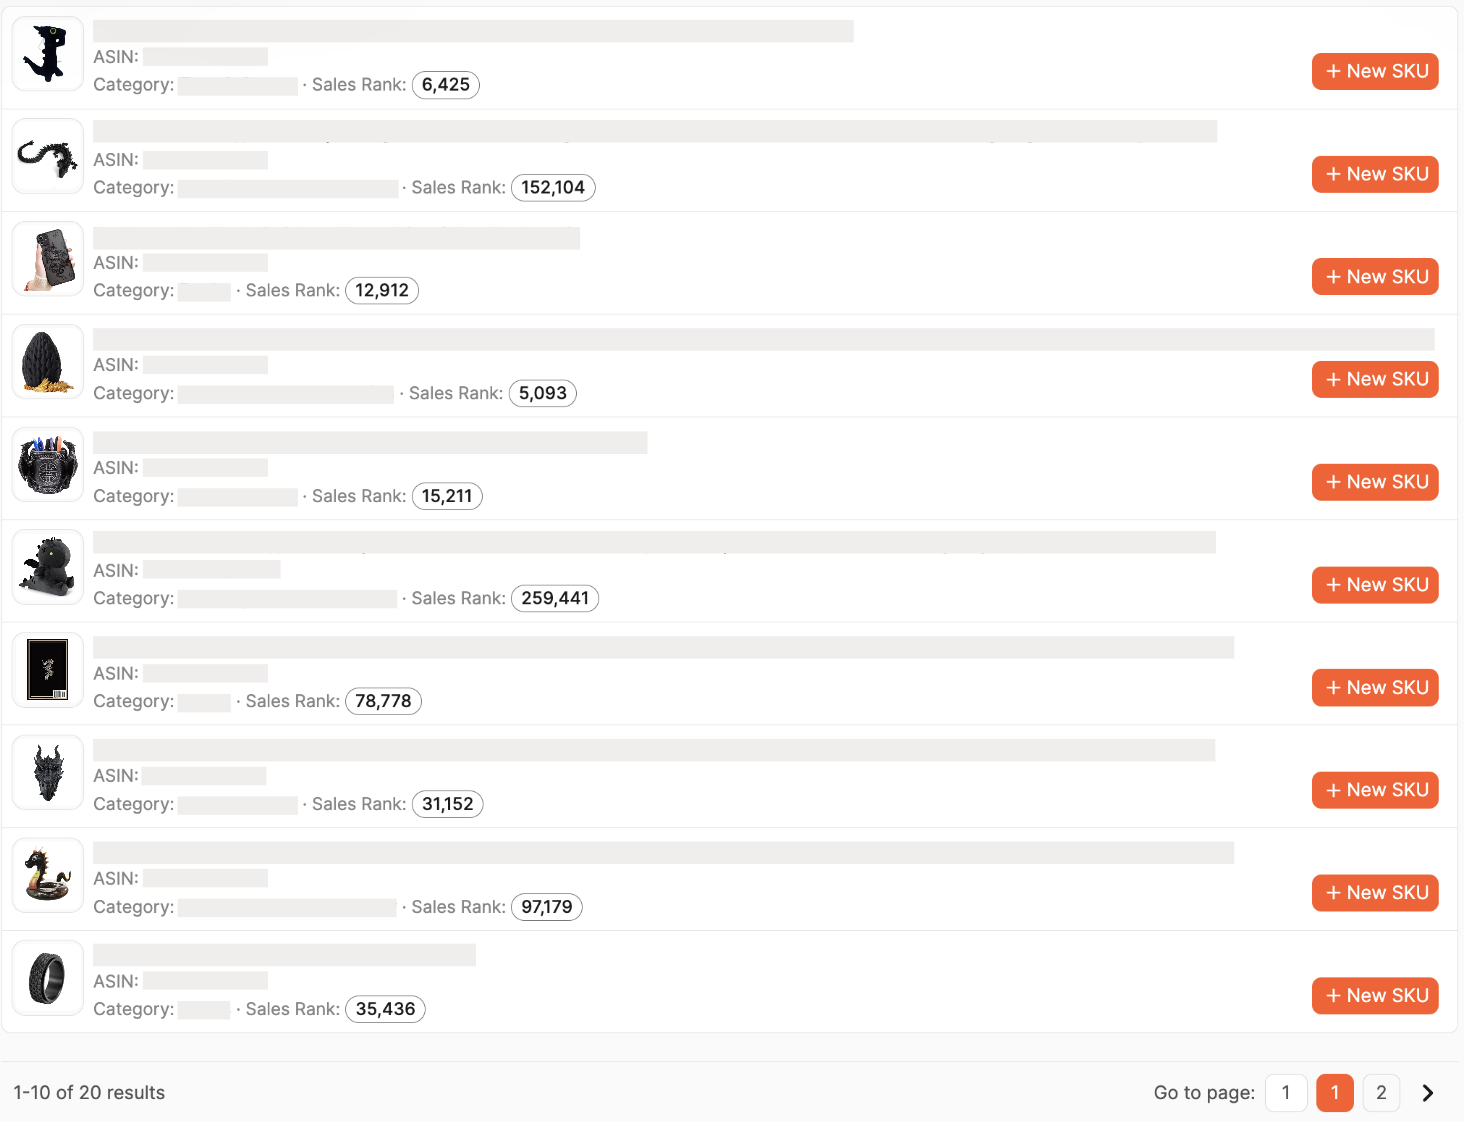
If you've never sold the product, you'll see each product's Image, Title, ASIN, Category, and Sales rank in the search results. Clicking the title will open a new tab with the product page on Amazon.

To add a product, click the + New SKU button.

If you've sold the product before, you'll see the SKU, Condition, and the number of units you currently have in stock.

If you've used multiple SKUs for the product, click More SKUs to reveal the additional SKUs.
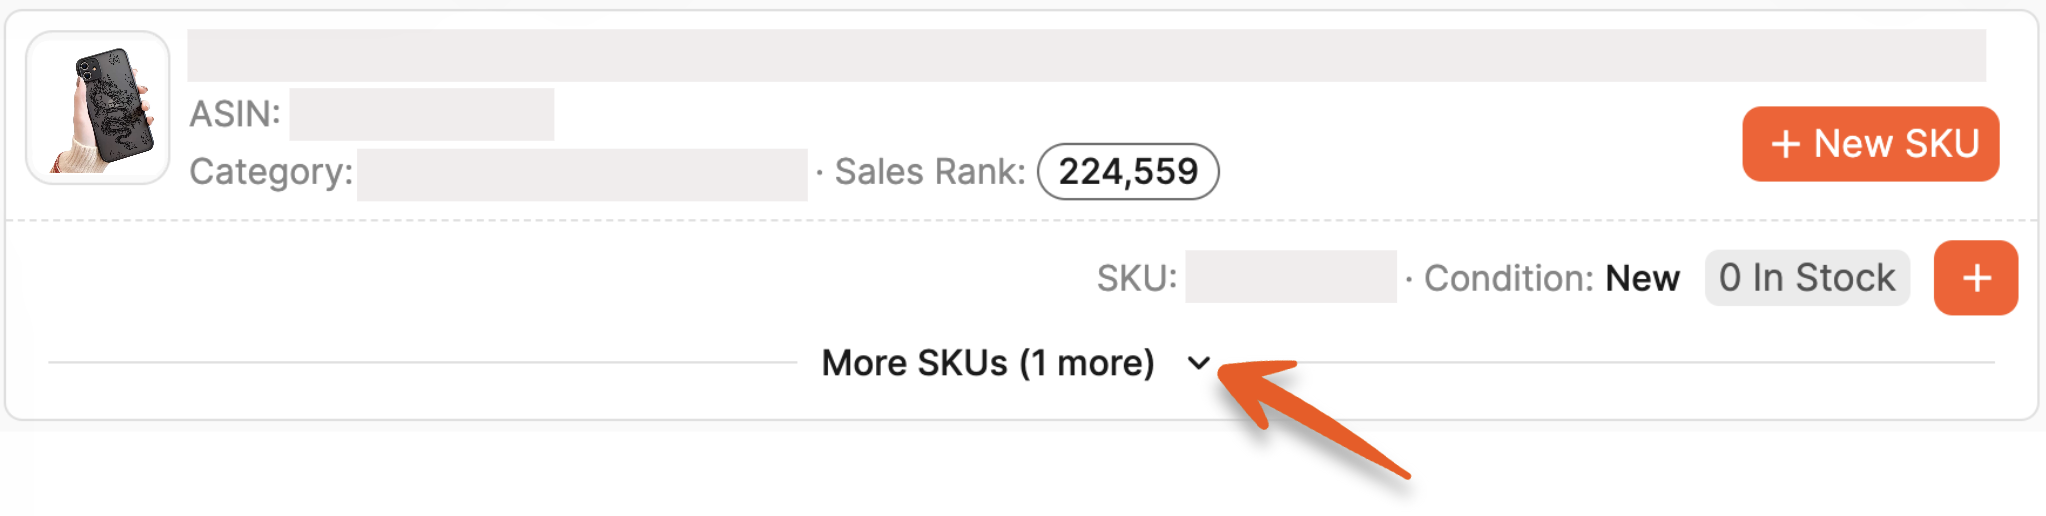
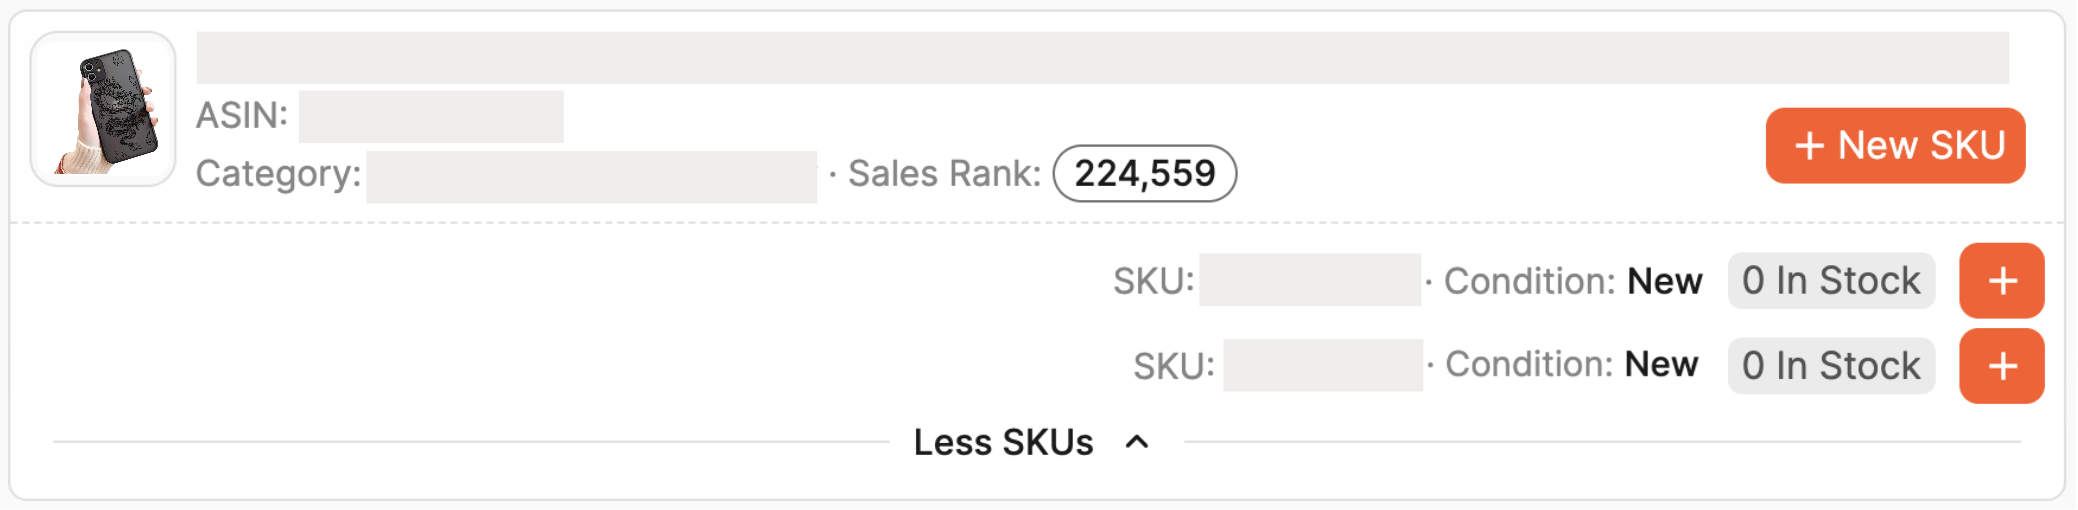
To add the product using a new SKU, click the + New SKU button.
To add the product using an existing SKU, click the Plus button next to the SKU.

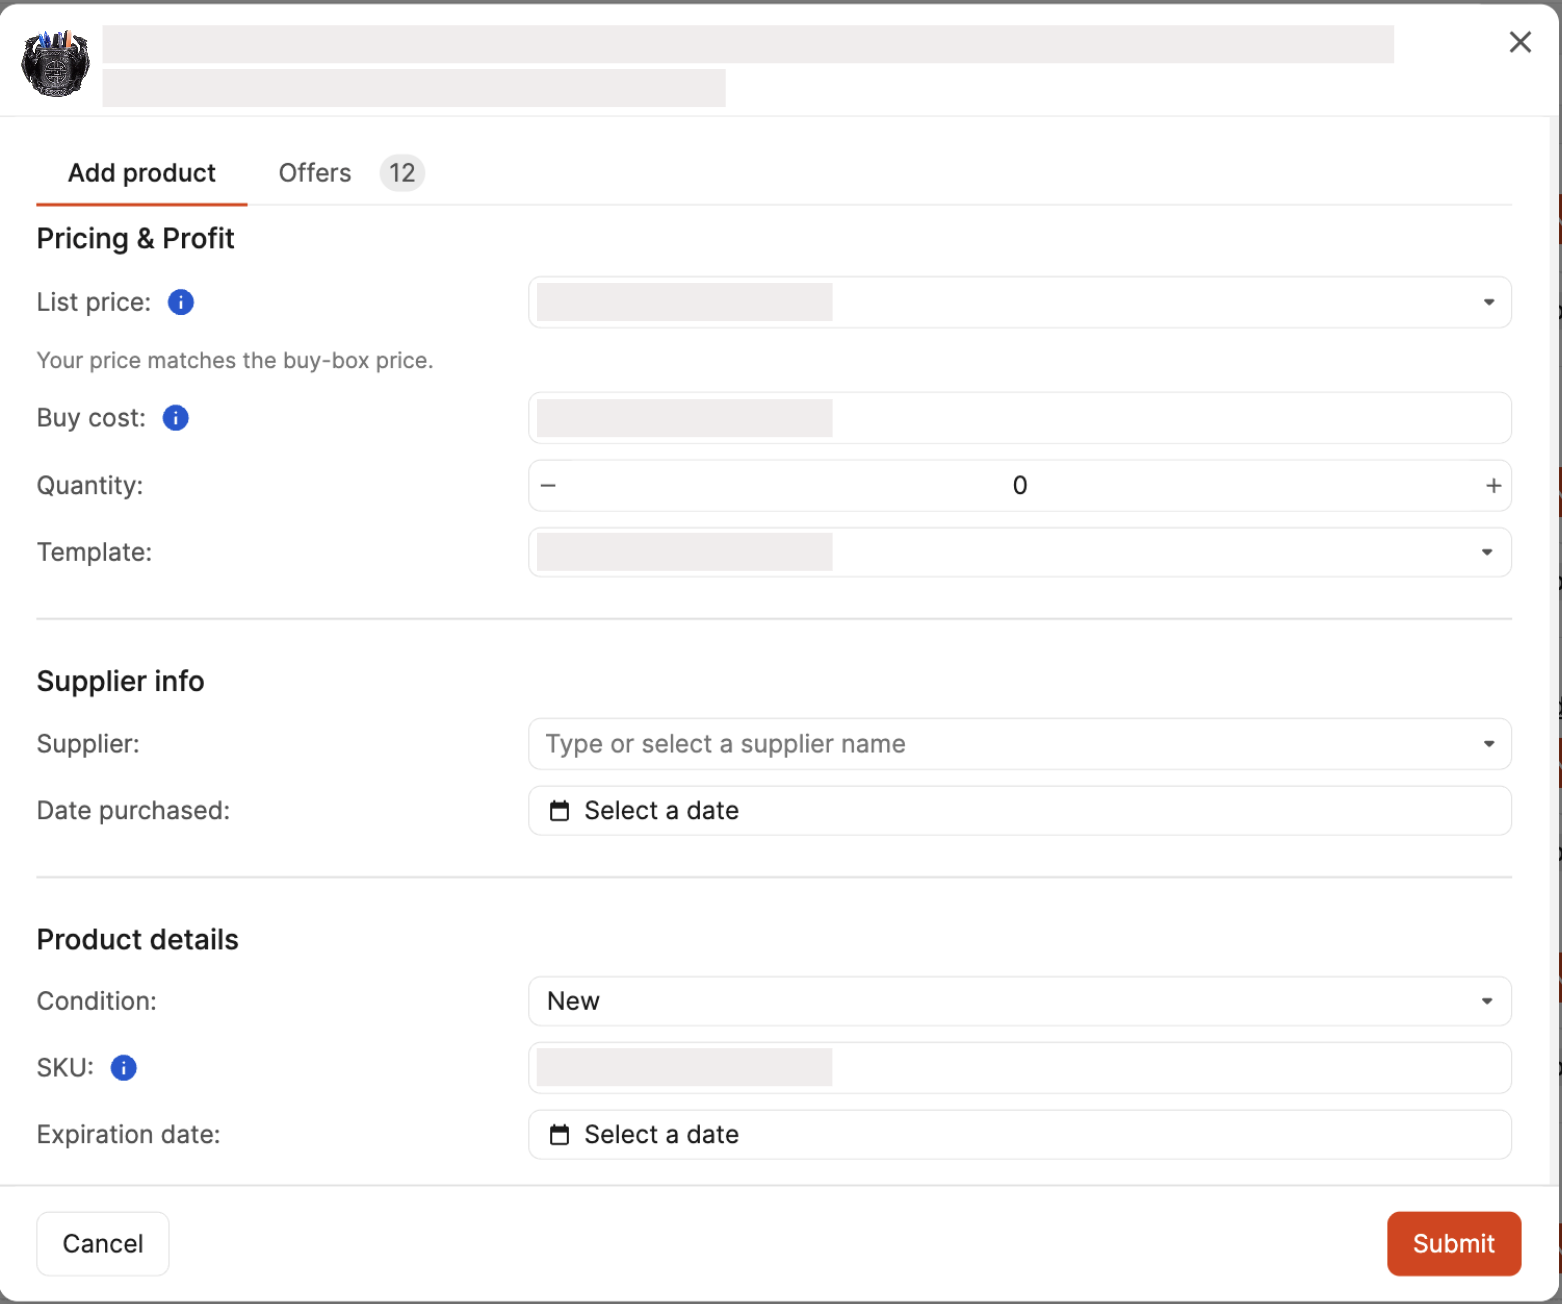
A modal will open, where you'll enter the details for your listing on the Add product tab.
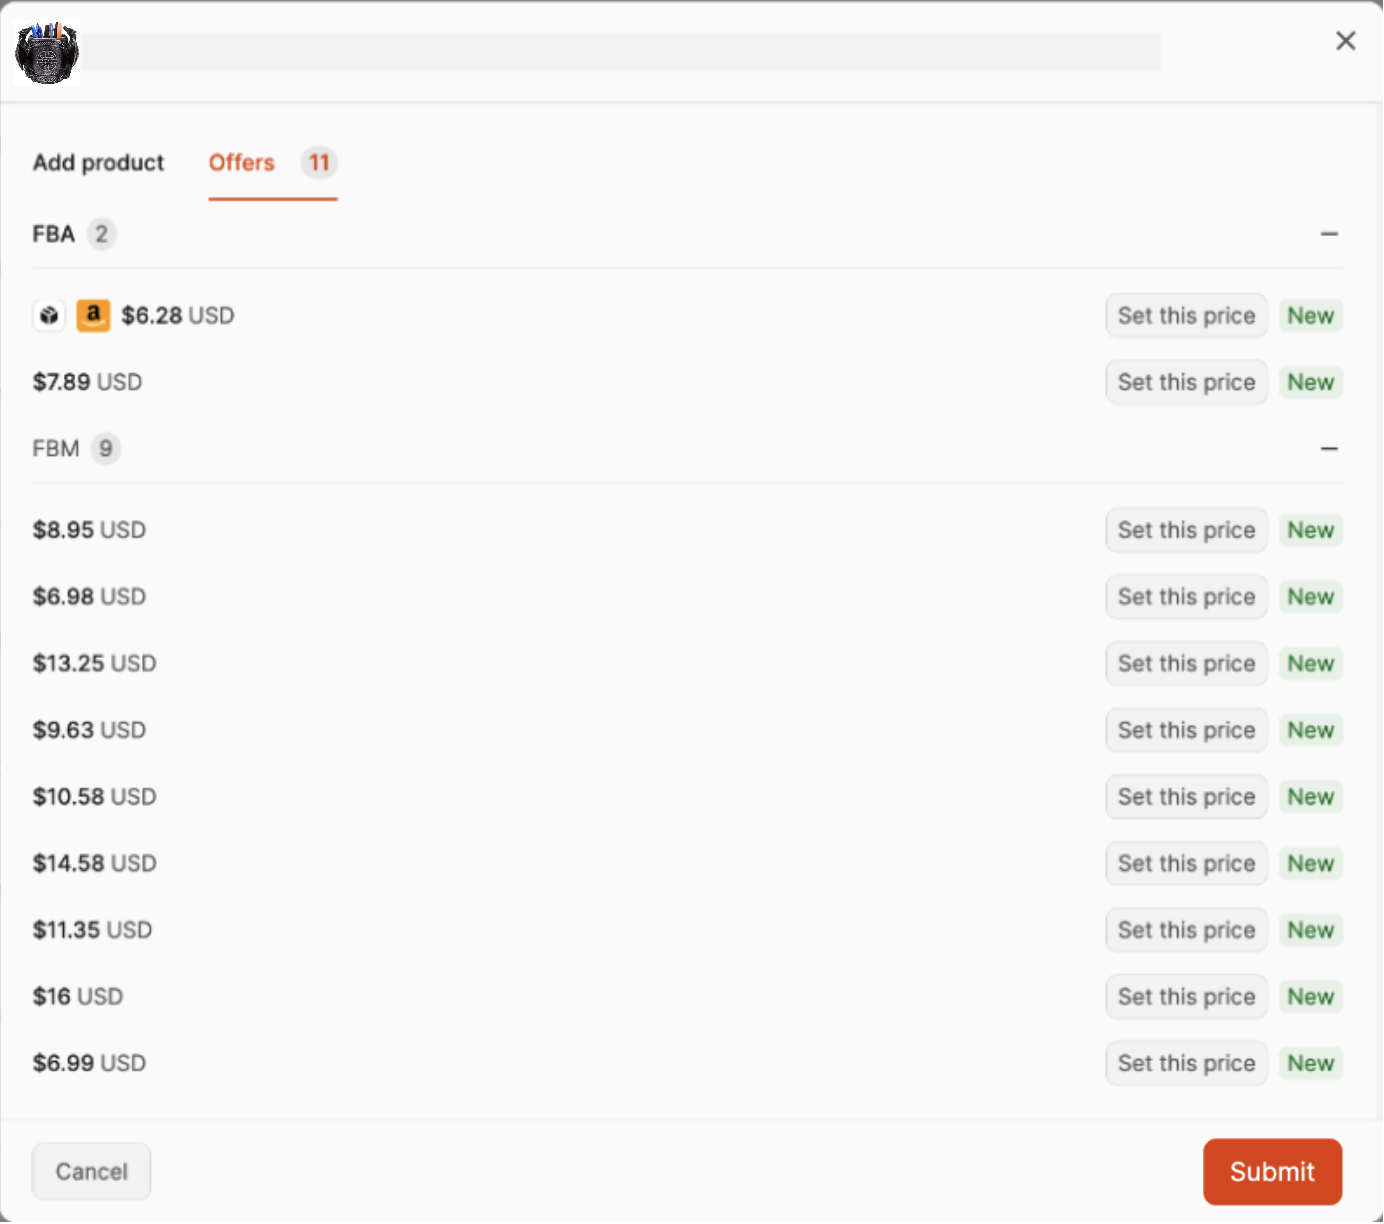
The Offers tab shows all the current FBA and FBM offers and their conditions. If an offer has the Buy Box or Amazon owns the listing, an icon will appear next to it. You can click Set this price to use an offer as your list price.
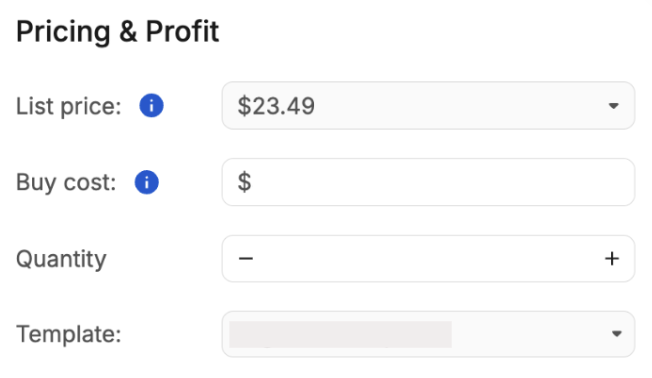
On the Add product tab, enter your List Price or click in the field to choose one from the current Amazon offers for the product.
If you have set up an auto-fill configuration for your list price, it will be filled in automatically.
If you selected the option to enter buy cost metadata, enter this information into the Buy cost field.
For new FBM SKUs, enter the quantity of units you are adding for sale.
When replenishing existing FBM SKUs, enter the total quantity of units in-stock, not the amount to add. (For example, if there are 5 units in stock, and I want to add 5 additional units for sale, I would enter 10 as the quantity.)

Choose the Shipping Template for the product by selecting it from the dropdown menu. For Shipping Template best practices, check out our blogpost: How to Create Shipping Templates
Note: Shipping templates must be created in Seller Central
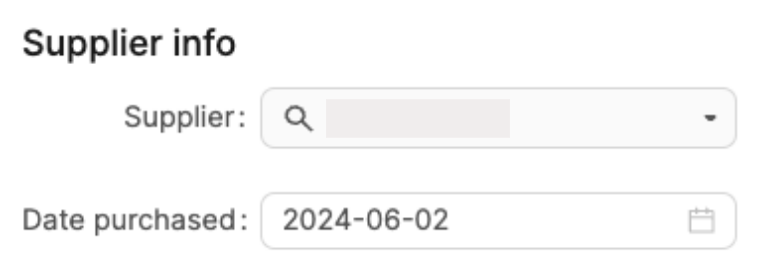
If you selected the options to enter supplier or date purchased metadata, enter this information into the Supplier and Date purchased fields.
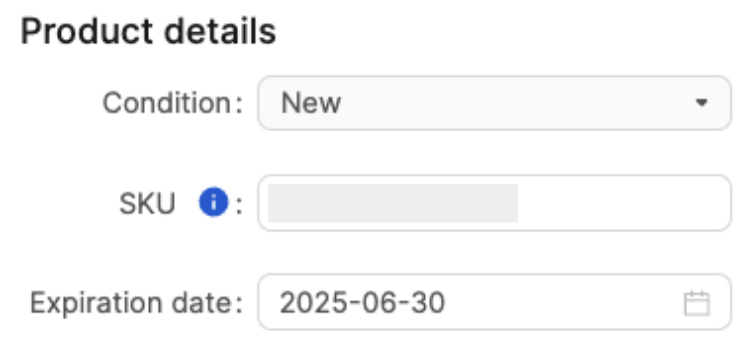
Select the Condition of your item. You can enter Condition Notes for any option other than New.
If the product is new to your inventory, a new SKU will be generated based on your SKU option selection.
If the product is already in your inventory, the SKU used to list it previously will be used.
If the product requires an expiration date, select a date in the Expiration date field.
After entering all the details for the listing, click Submit.

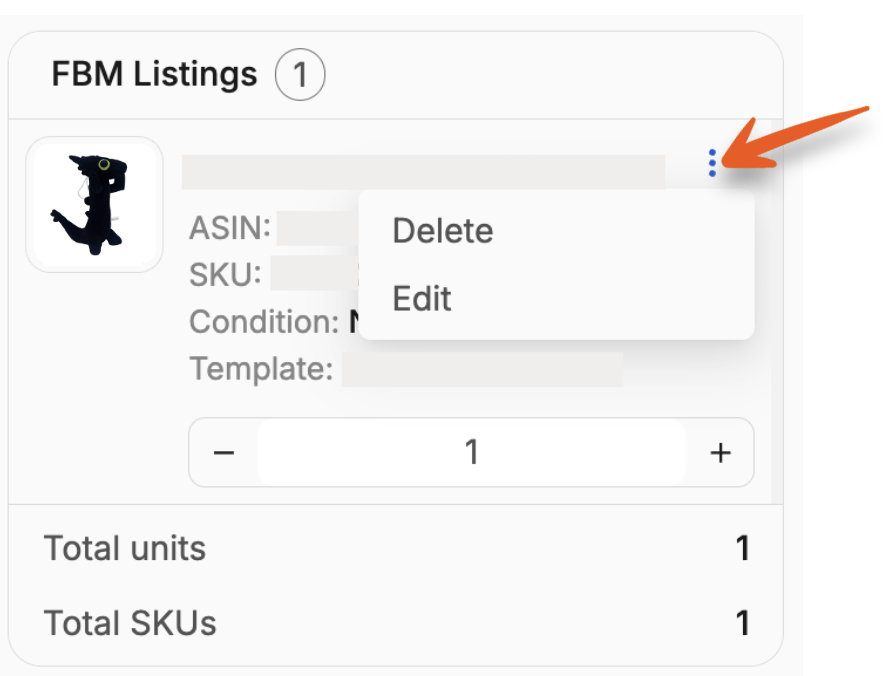
You'll see the product appear in the FBM Listings list, which displays the Total units and SKUs added. You can adjust the quantity of units for products as needed.
Clicking the three vertical ellipses next to a product will open a menu where you can select to Edit or Delete it.
After you've added all your products, click Submit FBM Listings to send Amazon the details of the products.

After submitting the listings, you'll move to the next step to review them. More info here: Step 2: Review FBM Listings.